Red Wine Poached Pears with Vanilla and Orange
Firm pears gently poached in red wine with vanilla, orange, cloves and star anise.
Red wine poached pears are gently simmered fruit in a spiced wine syrup, served warm or chilled. Choose firm-ripe pears that hold their shape and use a pot narrow enough for the fruit to sit mostly submerged. The source’s “one orange peel” and vanilla-syrup directions are unclear, so this version uses strips of orange zest and a split vanilla pod. Turn the pears as they cook, then reduce the poaching liquid separately for a glossy sauce. Their tenderness is best judged with a small knife rather than a fixed clock. Peel pears, leaving stems attached. Trim a thin slice from the base so they stand upright if desired; rub with lemon juice. In a snug saucepan combine wine, sugar, orange zest, vanilla pod, cloves and star anise. Warm, stirring until sugar dissolves.
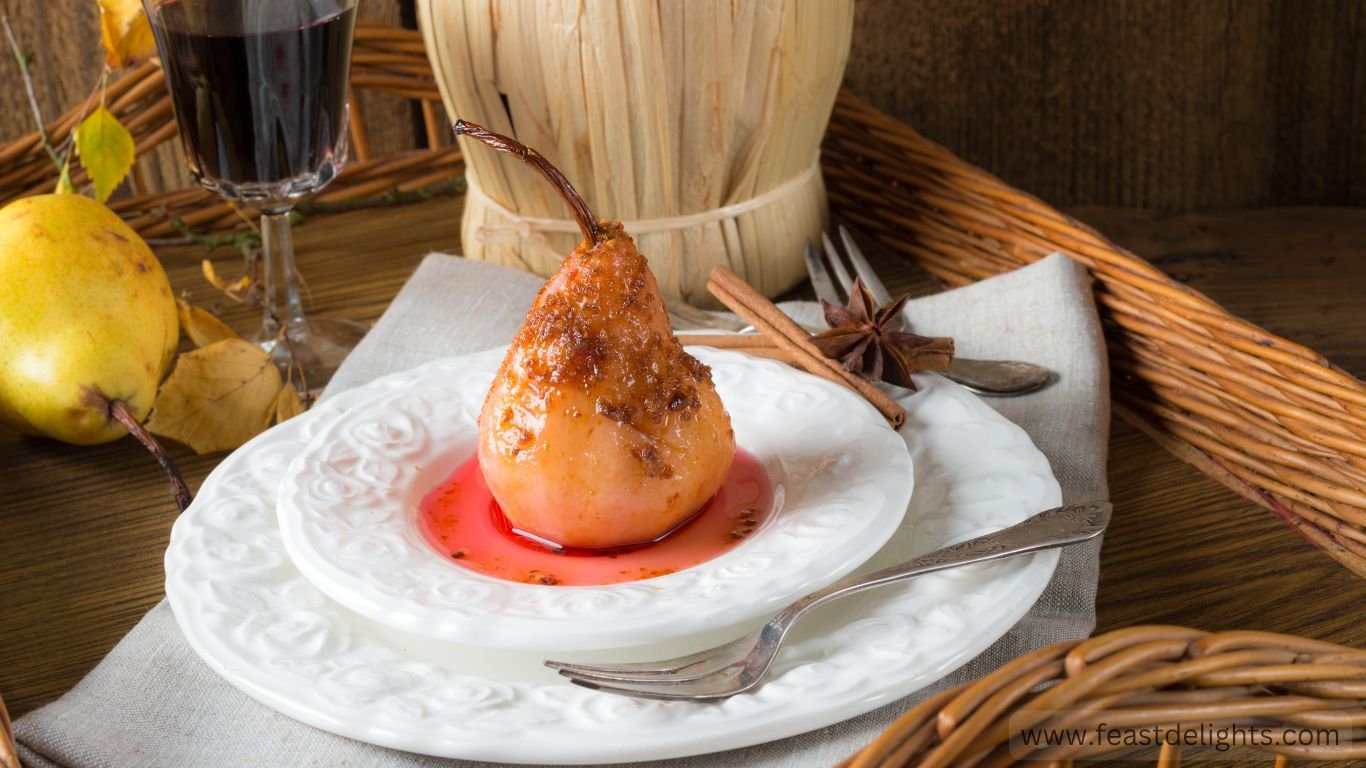
Recipe card
Red Wine Poached Pears with Vanilla and Orange
Equipment: Narrow saucepan, vegetable peeler, fine strainer, small knife
Ingredients
Instructions
Prepare pears
Peel pears, leaving stems attached. Trim a thin slice from the base so they stand upright if desired; rub with lemon juice.
Make poaching liquid
In a snug saucepan combine wine, sugar, orange zest, vanilla pod, cloves and star anise. Warm, stirring until sugar dissolves.
Poach gently
Add pears. Add water if needed to mostly cover them. Keep at a bare simmer, turning pears every 8 to 10 minutes, 25 to 40 minutes until a knife enters with slight resistance.
Reduce syrup
Lift pears to a plate. Strain liquid and simmer 10 to 20 minutes until lightly syrupy; it will thicken more as it cools.
Chill or serve
Return pears to syrup and chill several hours, or serve warm with a little syrup.
Finish
Serve whole or halved with yoghurt, crème fraîche or ice cream.
How to tell when it is ready
A paring knife should slide into the thickest part with slight resistance; the pear must not collapse.
Tips
- Use pears of similar size.
- Keep the liquid at a gentle simmer, never a rolling boil.
- Turn fruit for even colour.
- Reduce syrup only after pears are removed.
Troubleshooting
- If pears are still firm, simmer longer and turn gently.
- If syrup is too thin, reduce it separately to avoid overcooking fruit.
Substitutions
- Use pear juice plus a little extra lemon for a non-alcoholic version; the colour and flavour will differ.
- Use brown sugar for a deeper caramel note.
Variations
- Add a cinnamon stick.
- Replace star anise with a strip of lemon zest.
Serving suggestions
- Serve with vanilla ice cream.
- Add crème fraîche or thick yoghurt.
- Pair with blue cheese for a savoury course.
- Scatter toasted almonds over the syrup.
Make ahead
Prepare suitable components ahead and store them safely. Refrigerate pears in their syrup in a covered container up to 4 days. Serve chilled or warm gently in the syrup.
Storage
Refrigerate pears in their syrup in a covered container up to 4 days. Serve chilled or warm gently in the syrup.
Food safety
Cool promptly, refrigerate, and do not leave cooked pears at room temperature for more than 2 hours.
Frequently asked questions
Can I make poached pears ahead?
Yes. They improve after chilling overnight in the syrup and keep refrigerated for up to 4 days.
How should I store red wine poached pears with vanilla and orange?
Refrigerate pears in their syrup in a covered container up to 4 days. Serve chilled or warm gently in the syrup.
Serve with vanilla ice cream. Refrigerate pears in their syrup in a covered container up to 4 days. Serve chilled or warm gently in the syrup.
More recipes to try
Spotted a detail that needs correcting? Contact the FeastDelights editors.